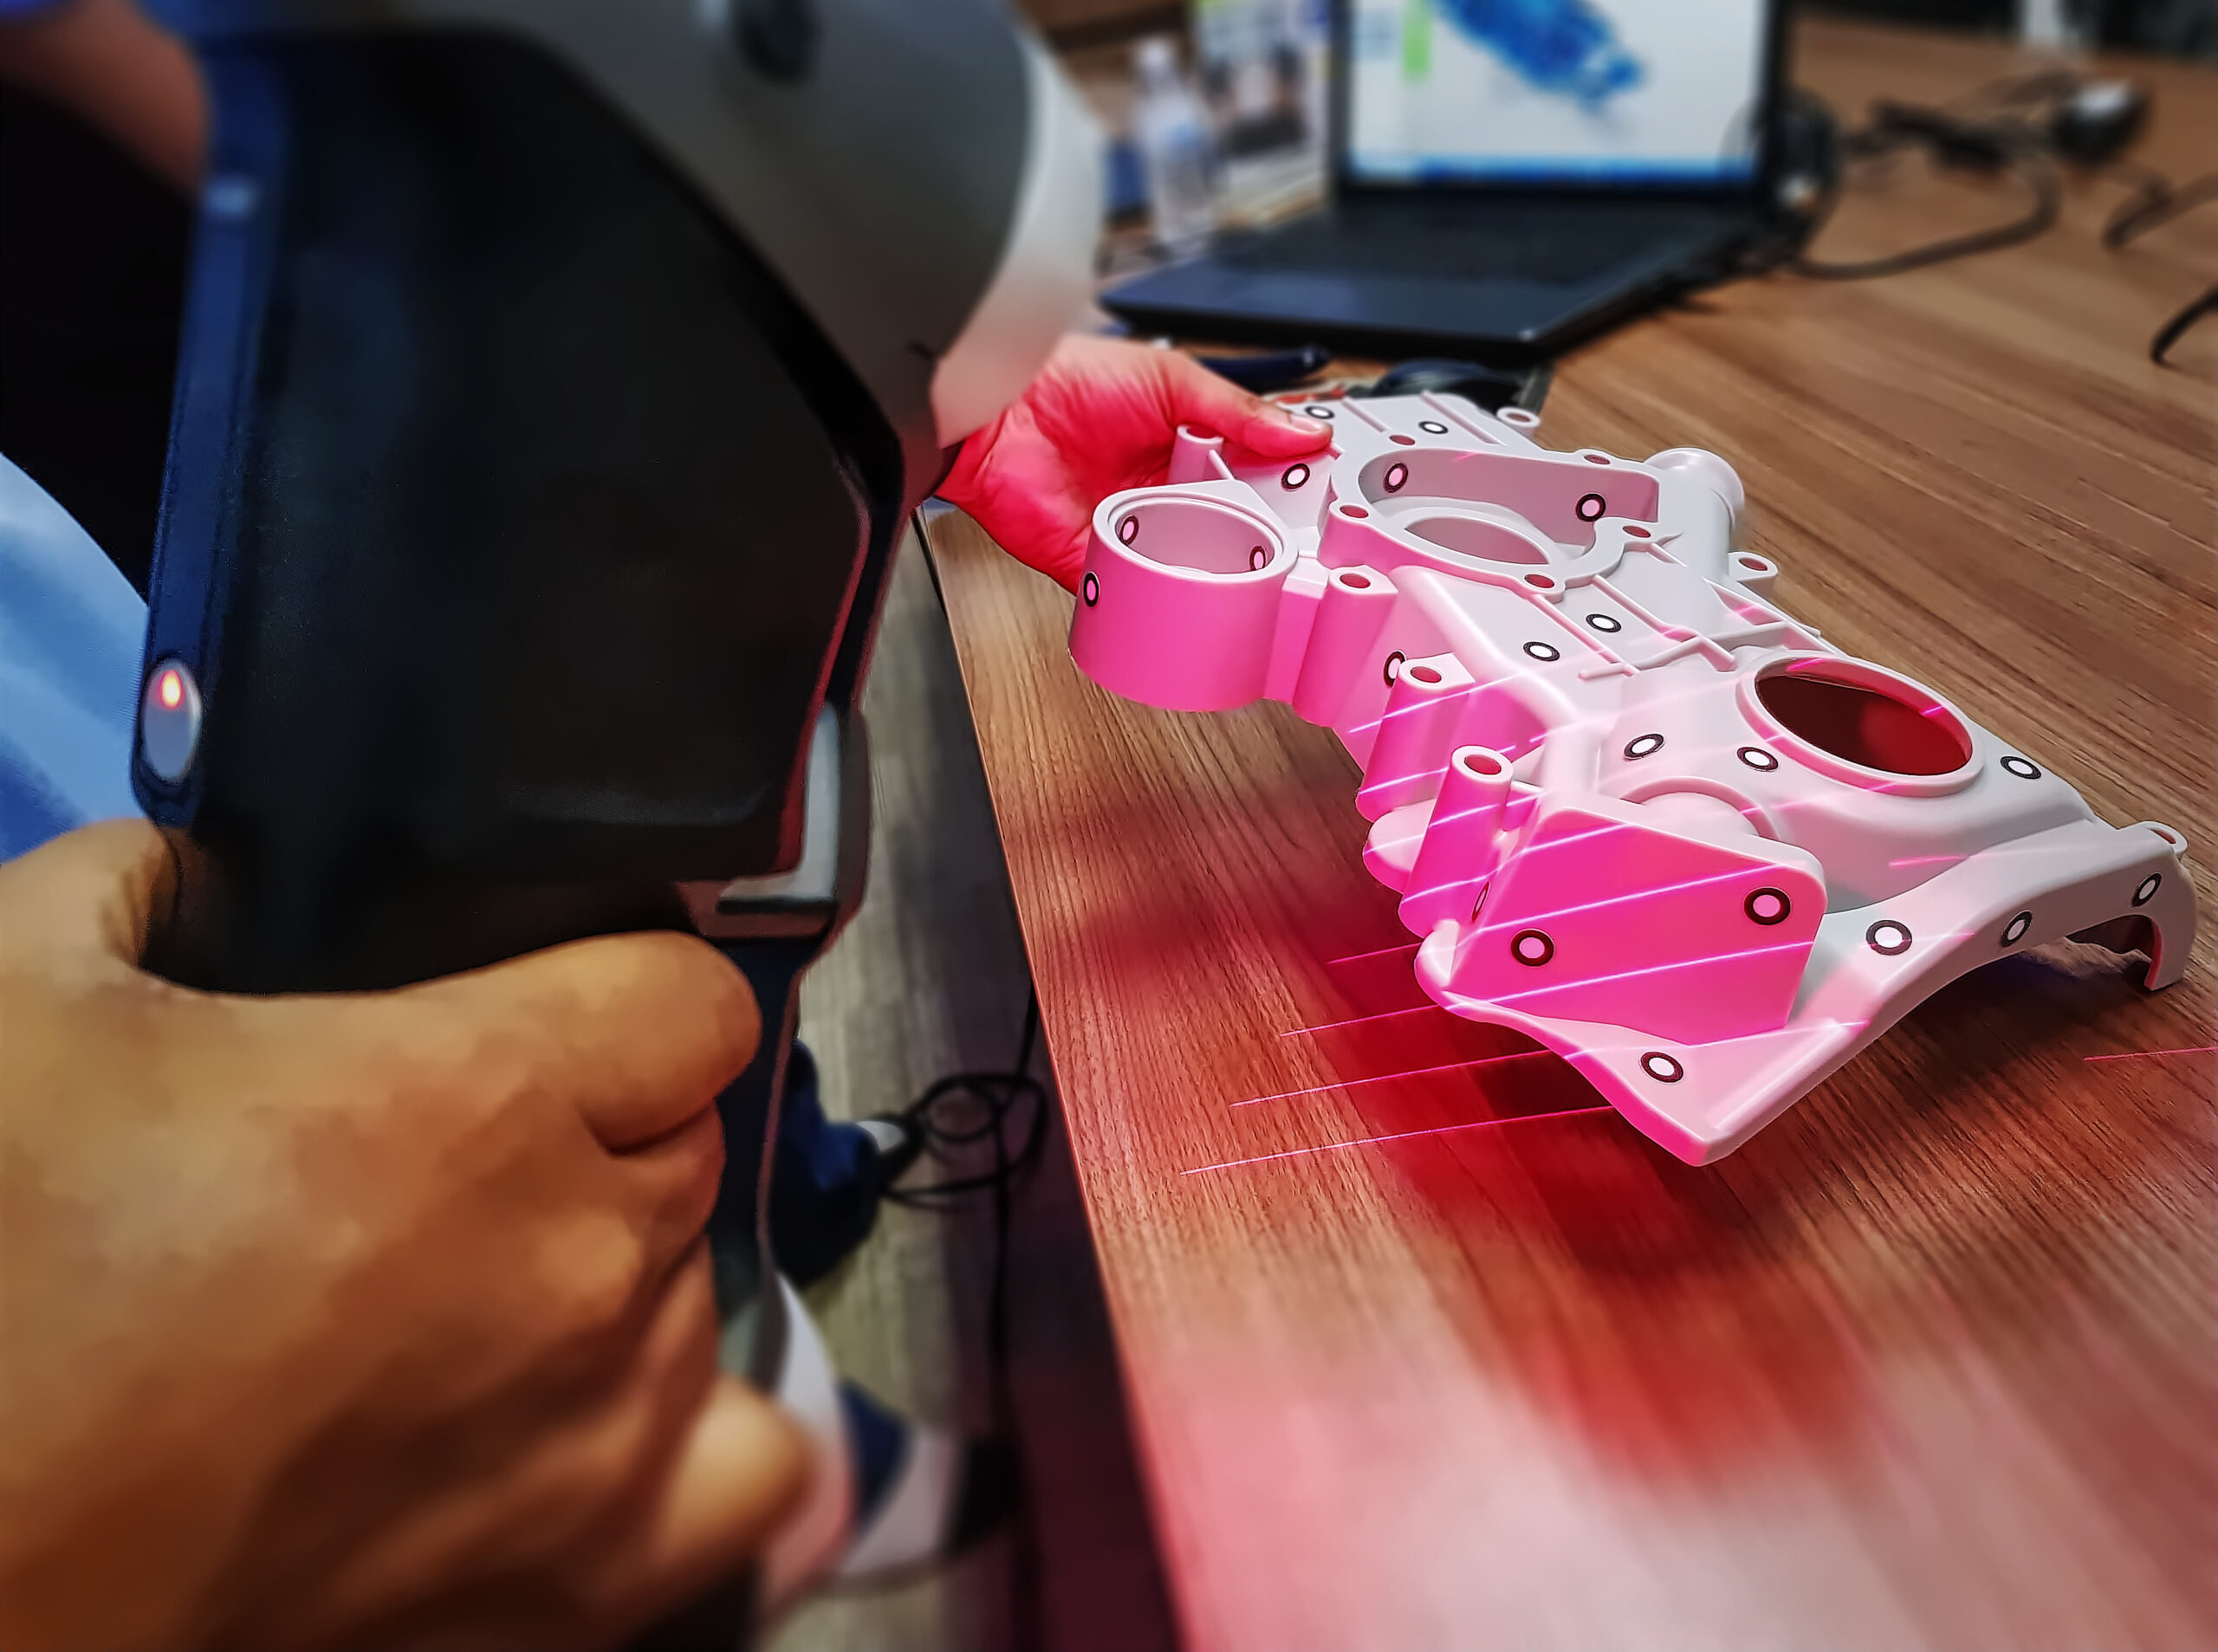
Since the affordability of 3D scanners, CAD software, and 3D printing has opened up the possibilities for makers in many different industries, more people are tapping into the capabilities and unlocking creative avenues through the use of these tools.
One industry in particular that offers highly customizable products is the automotive aftermarket part market. Custom car fabricators around the globe can take any vehicle out there, find parts on the vehicle whether it be interior trim, speakerboxes, or even exterior body panels, and reverse engineer them using these tools and have success selling them to a wide audience.
Although the barrier of entry into doing this type of work is lowering considerably each year, some car enthusiast with grand ideas for their personal rides may not have the time or the dexterity to pull off a professional reverse engineering job.
That’s where somebody like me comes in! I can interface with fabricators or designers about their ideas and promptly and effectively turn their idea into a physical prototype they can test in reality. And while most people believe that this process is way out of their budgets, I beg to differ.
My speed of execution and ability to do things the right way, the first time, allows me to keep prices low for my clients. Im so confident in my swift CAD modeling skills and I offer 45 minutes of working with me in real time on your idea for FREE.
The workflow for reverse engineering part
The workflow for reverse engineering a part typically involves a 3D scanner, CAD software to import the scan data into, and then some type of digital manufacturing device, such as CNC machine printer create prototypes with.
The 3-D printer is utilized often to rapid prototype and iterate through the initial CAD models to ensure functionality and cosmetics appear as needed. A 3-D scanner is used to scan usually part that is the size of a table top.
SCANS GET YOU 90% OF THE WAY
Scanners today produce highly accurate 3-D point clouds for just about anything and provide CAD designers or technicians a great starting point for redesigning parts. 3D scans are great, but sometimes, a technician will also need additional photos to go along with the 3-D scan especially if they need to the original part and include finishing components such as paint colors or different materials.
Also, the scans can be missing some intricate details that are also crucial to the functioning of the part, so straight on photos and they use a caliper on the original part can aid in knocking out these fine details.
The next step after getting the scan is for the CAD technician to import it into their software, and start to re-create the part in CAD, turning it into a solid model.
The Scanner does an awesome job of re-creating the part, but it creates a mesh file, which is a bunch of polygonal Surfaces and blankets around the form.
Mesh to Solids
Also, these meshes will be open and have many holes and issues that are not suitable for manufacturing. The mesh needs to be converted into a solid model. As of this writing, there is no way to do this automatically that I know of (I’ll do some research).
A CAD technician has to manually look over the mesh and use the software to generate new surfaces and create a water type model. A watertight model is a model that is completely closed. It has volume and all of the surfaces touch each other so that if there were any water inside of the form, there would be no way into escape.
It generally takes about depending on the complexity of the park anywhere from an hour to 20 hours to generate a new solid model.
Pixels to Atoms
From here, the CAD designer can send the part to be printed so that it can be tested in the real world and check for fits functionality and appearance. Usually the first iteration is not perfect and adjustments will have to be made, however, making adjustments to a CAD file usually is not that difficult, once the main model has been developed. Although there are situations with organic shapes, and like where even a basic dimension change can cause a lot of rework in the model.

Leave a Reply